Installation
With Putty connect to serial port
Insert the key into the APU, connect the COM port and switch on the APU by switching on the power supply.
Press F10

Press 1 (select USB Key)
When you get to this screen, choose “install” and click the TAB button to edit
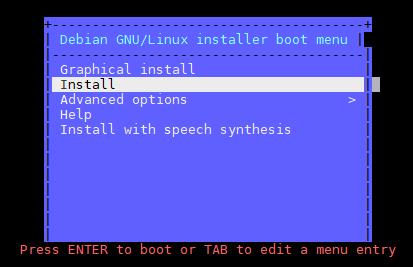
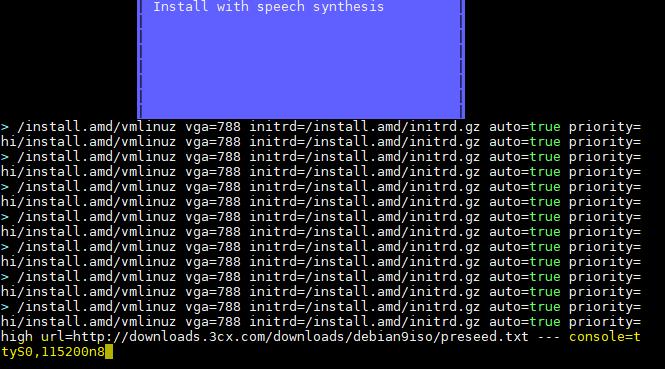
Delete quiet after i – – – and write: console = ttyS0 = 115200n8. Send to start the installation.
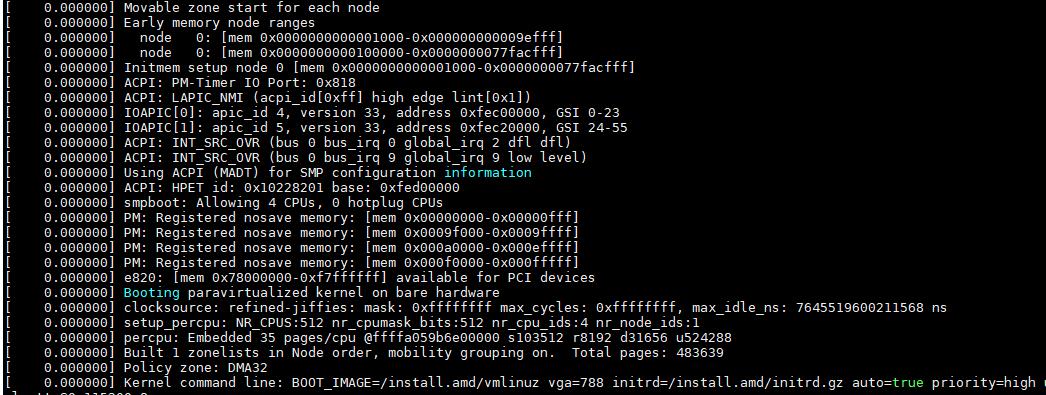
Wait a few more seconds, you will see the boot information flow and then you will get to the actual installation. From here you have to choose all the information to install Debian 9.
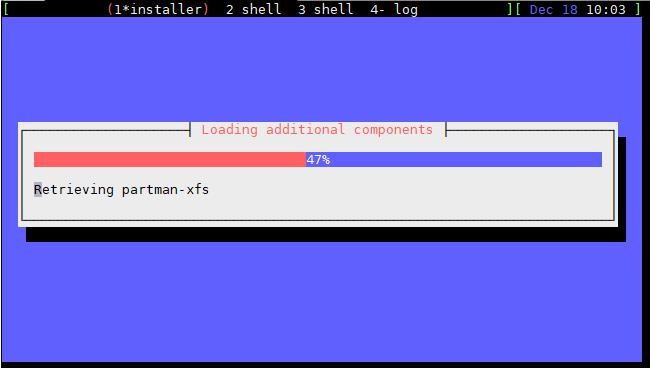
If you choose the enp1S0 remember that the physical NiC corresponds to the one near the COM port.
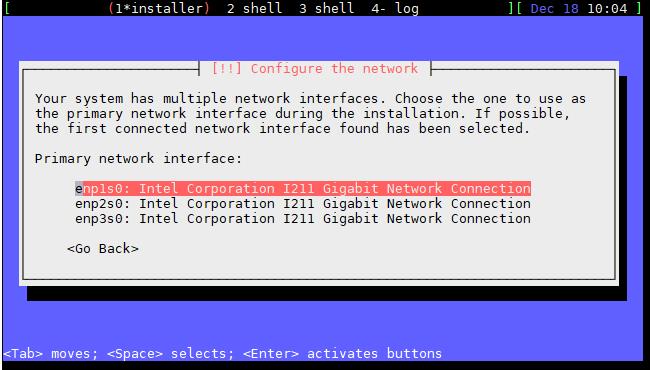
The interface configuration via DHCP will start automatically. If DHCP is not present, or if you prefer to give an IP manually, just press <Cancel> in the following screen.
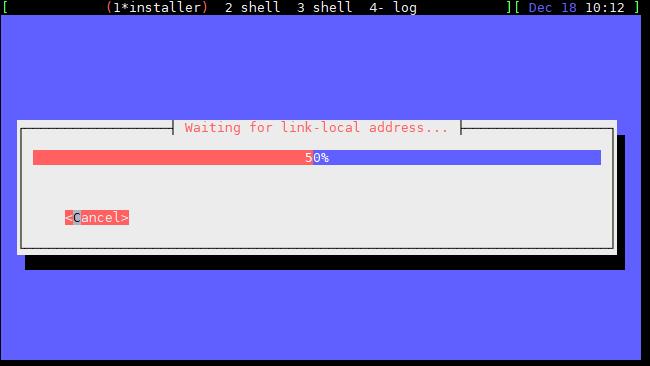
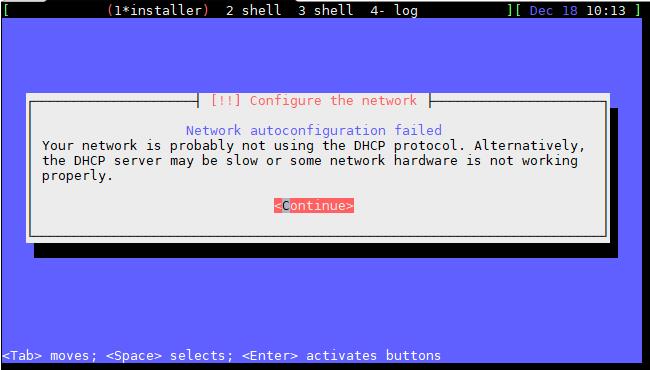
Here the DHCP Server was not present, so the network configuration fails.
Click on continue and then enter the IP manually. Remember that if there is DHCP you do not have to take these steps
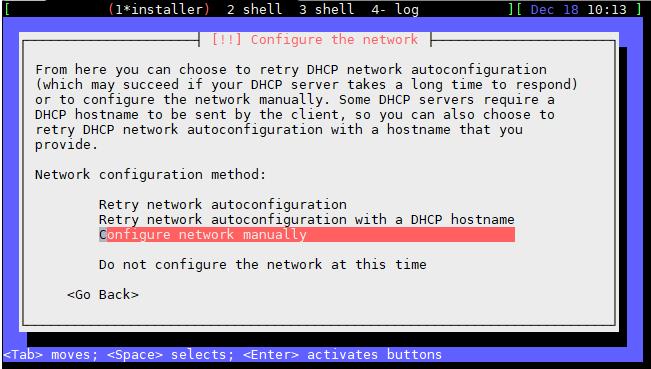
Enter the IP you prefer including the subnet mask, gateway and DNS server and then click on continue.
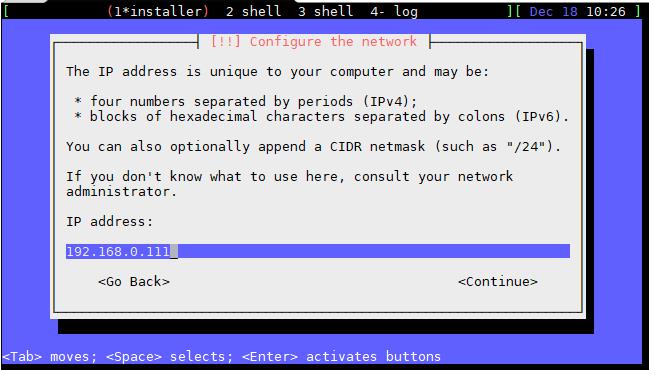
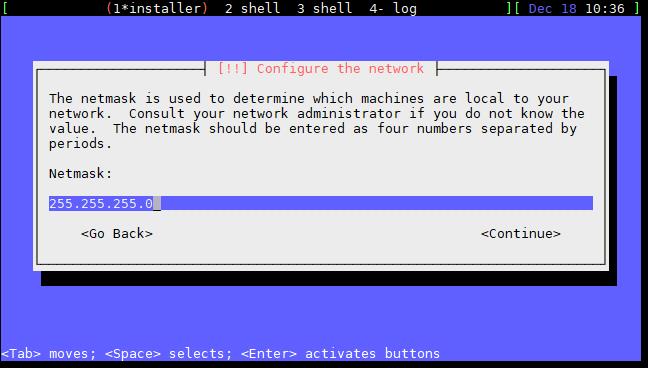
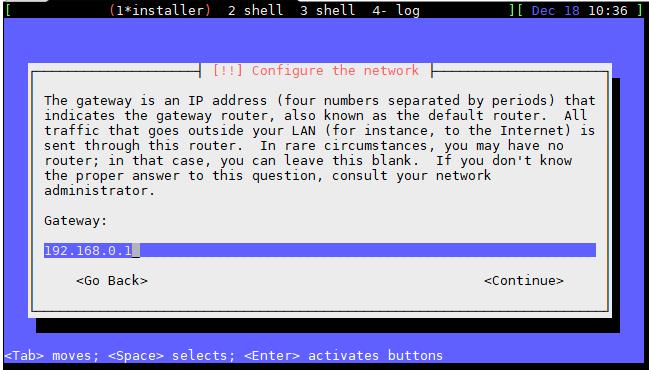
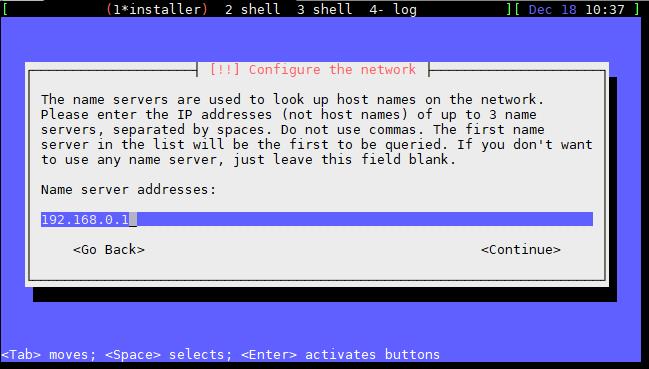
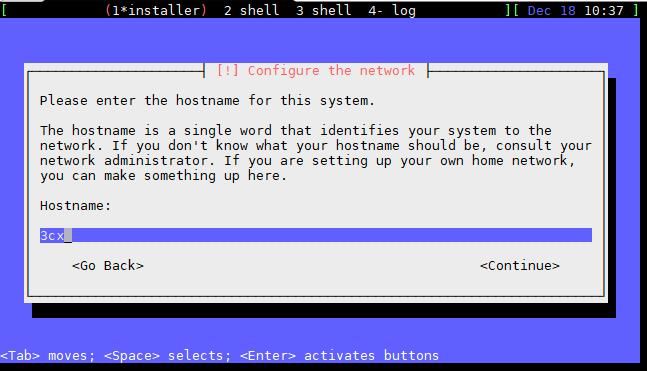
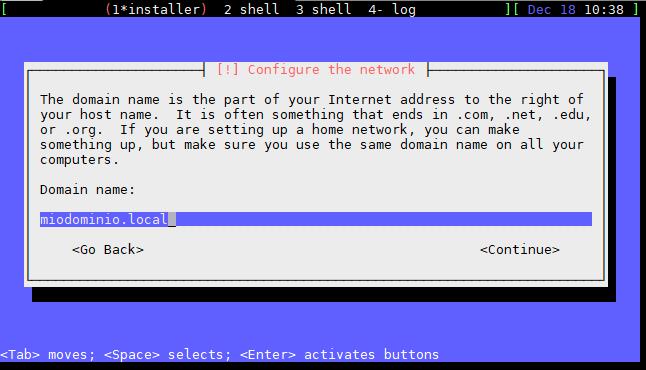
If the configuration of the Network is successful, and the 3CX has network and internet connection, you can go on, otherwise you will see this error:
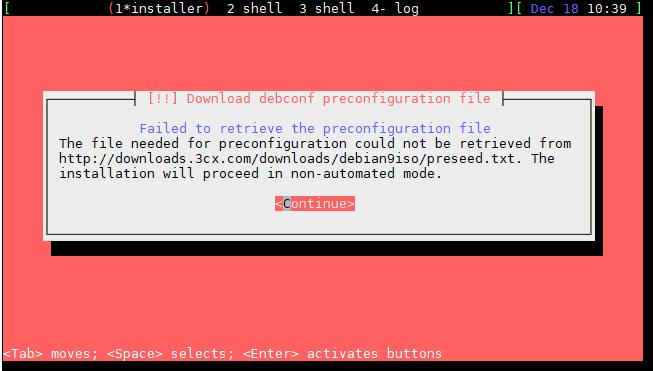
By clicking on Continue you will be returned to the main menu with all the steps of the installation. Select again the part of Network, re-enter all the parameters taking care not to make mistakes and then continue with the installation.
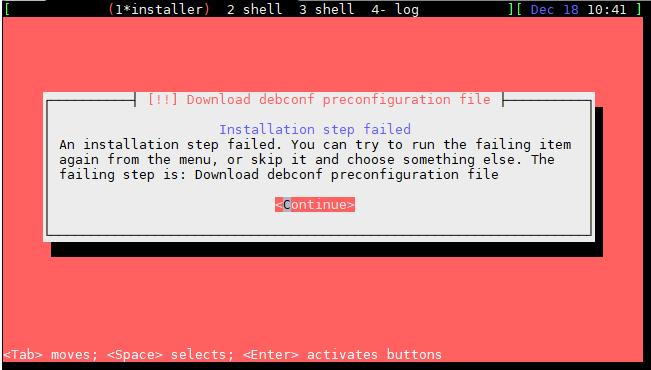
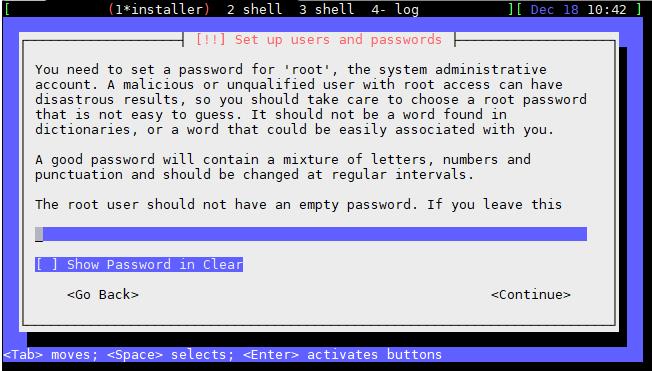
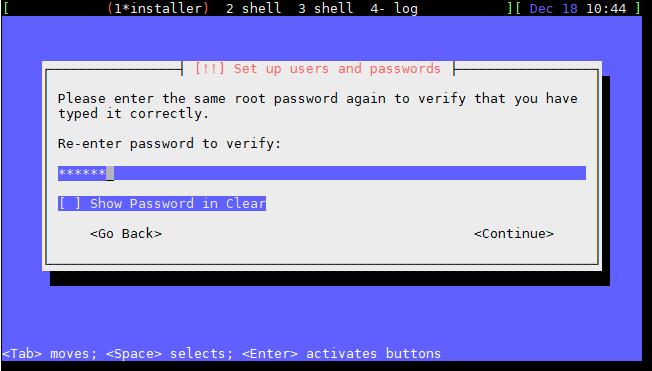
If you have passed the part of networking without errors, you will get to the screen to enter the root password (to be repeated 2 times).
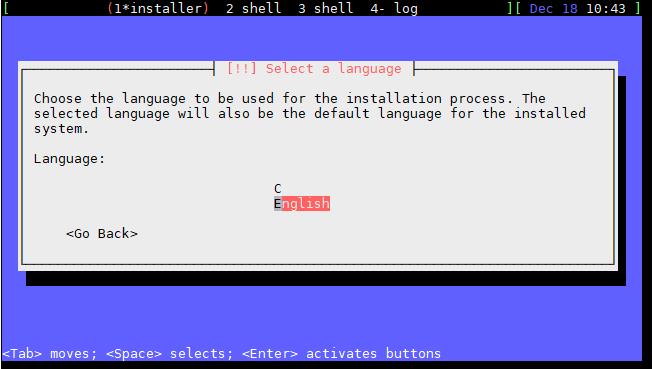
Choose English on the following screen
Follow the steps as shown
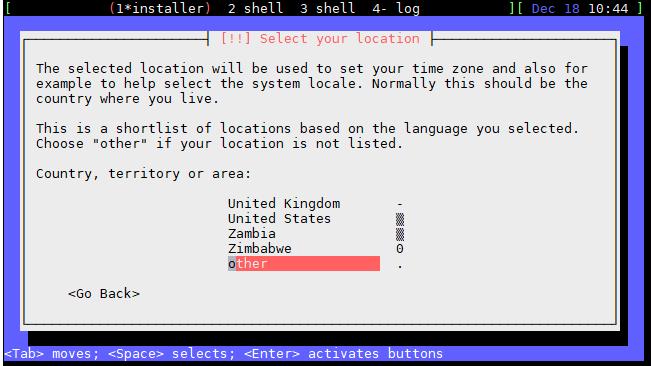
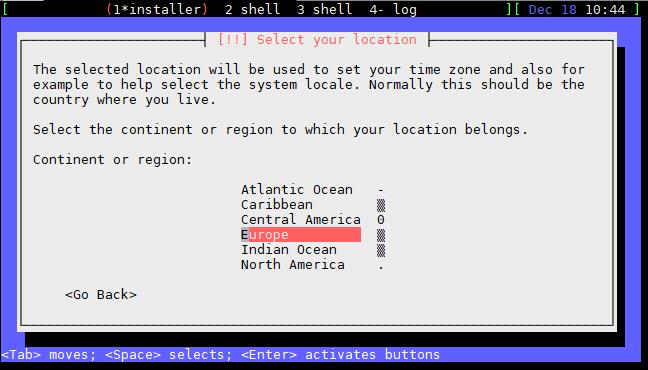
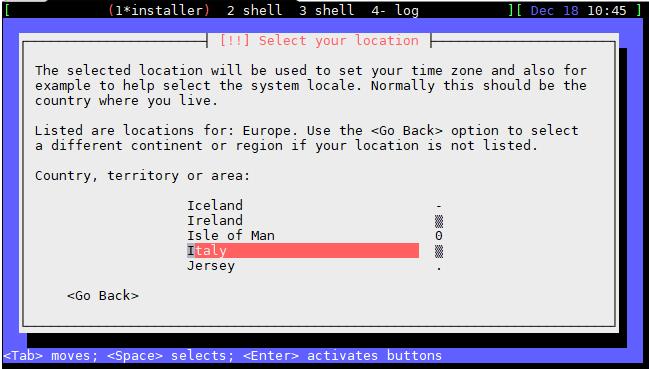
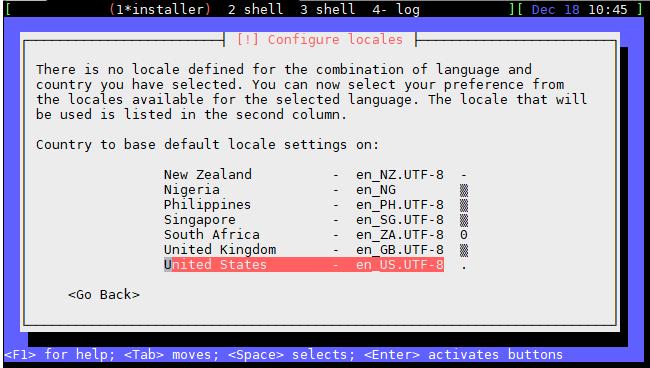
Choose according to your needs: if you do not know what to choose, go ahead as shown
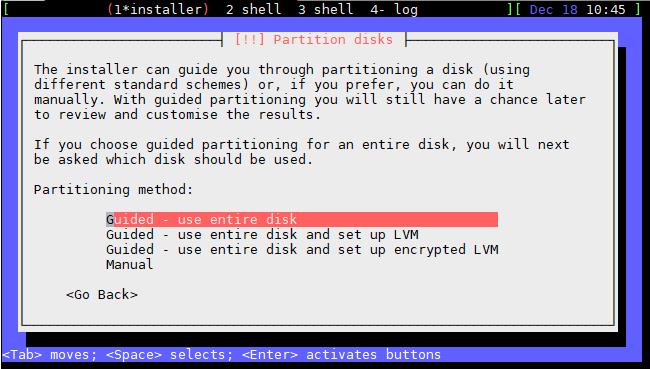
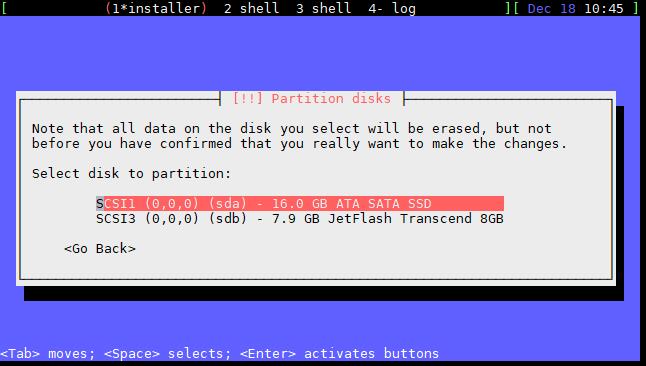
Choose in disk on which to install the operating system: be careful NOT to choose the USB stick !!
Choose according to your needs,if you do not know what to choose, go on as shown
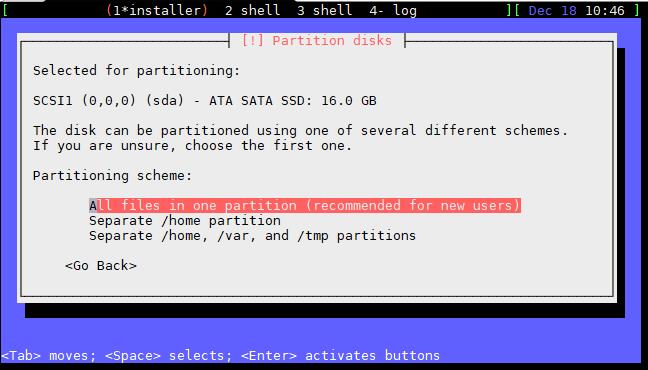
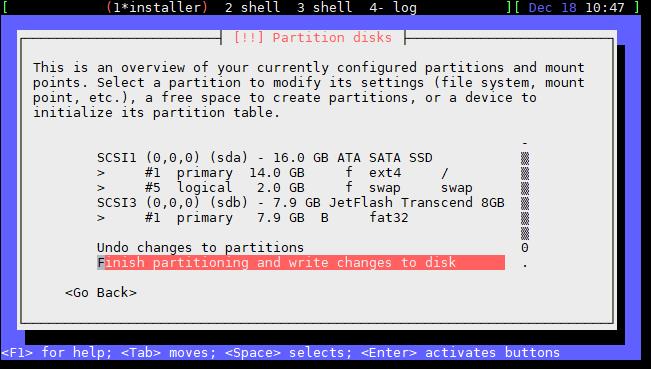
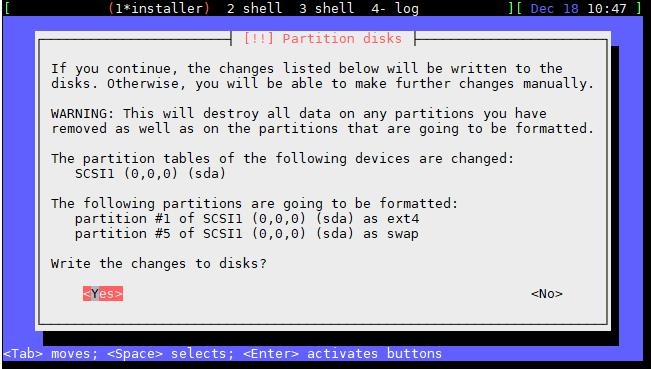
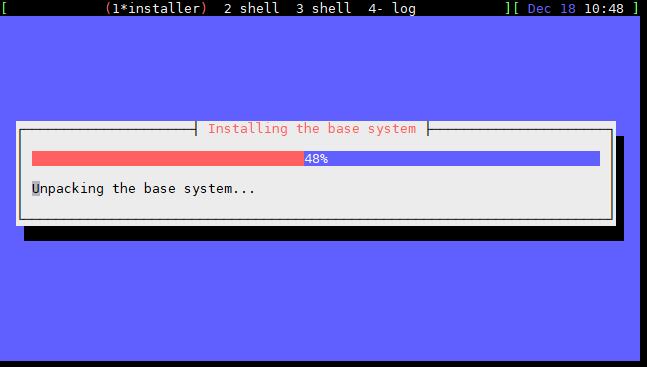
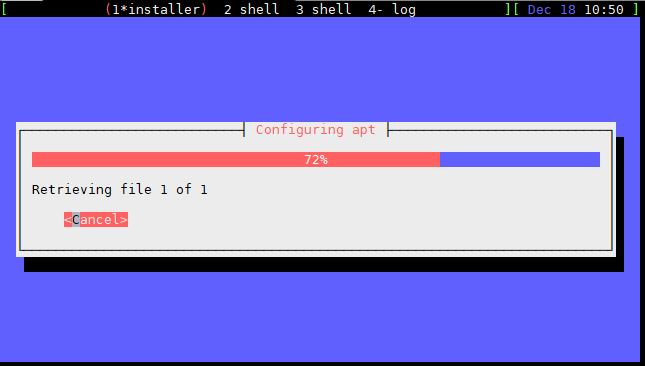
The installation of the Debian 9 operating system will start and will continue on its own until the end. At the end, remove the key or the installation will restart.
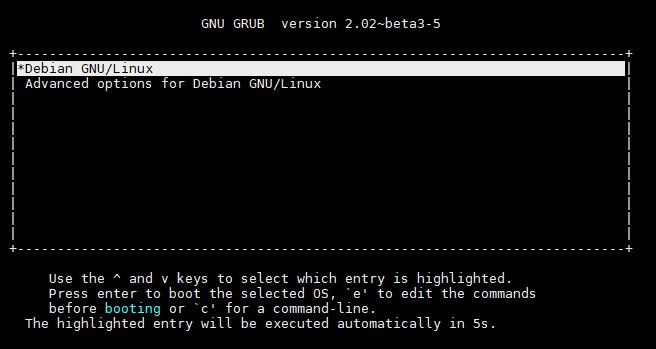
This is the GRUB screen, at the end you will have the prompt to log in to the console
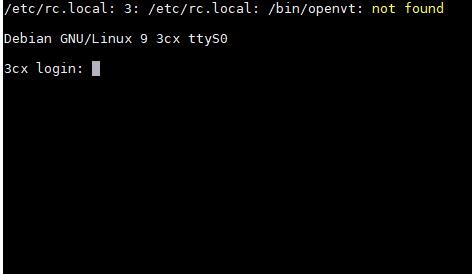
We noticed that, strangely, the switchboard package was not present. It’s not a serious problem because normally a command is enough to install it.
Debian 9 there are two more steps to do. It does not take too much time and it will be enough to follow this guide to complete it.
Unfortunately, there is still no 3cxpbx package in the Debian 9 repositories, so we have to make some minor changes to install it.
Now let’s proceed to the actual installation by installing the libcurl3 of the old Debian8
wget -O- http://downloads.3cx.com/downloads/3cxpbx/public.key | apt-key add – echo “deb http://downloads.3cx.com/downloads/debian stretch main” | tee /etc/apt/sources.list.d/3cxpbx.list
apt-get update
apt-get install 3cxpbx
At 99% you will be asked how you want to complete the installation
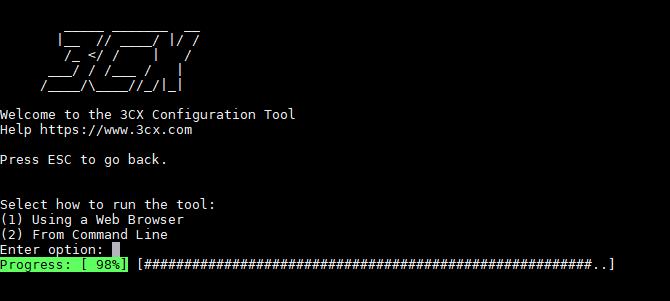
For simplicity, use option 1 (Web) by clicking 1

Go to the web and complete the installation.
HTTP://<IP DEL VOSTRO APPLIANCE>:5015?V=2
Enjoy!
Questa risposta ti è stata utile?
Fantastico!
Grazie per il tuo feedback
Siamo spiacenti di non poterti essere di aiuto
Grazie per il tuo feedback
Feedback inviato
Apprezziamo il tuo sforzo e cercheremo di correggere l’articolo